Yeast Ranching
Yeast Ranching is a fancy term for letting yeast multiply well beyond numbers they started out with, then preserving the yeast for later use in wine or beer making. Ranching is typically done by freezing the yeast using glycerine as a cryoprotectant.
It is often used as a cost-cutter and for the nerd-factor. It's a really fun part of homebrewing that I should have started earlier. Just imagine buying a sachet of commercial yeast for $5, then growing it large enough to inoculate 10 batches. Use the last of those 10 to grow another "generation" of 10 samples. Rinse and repeat. Most inexperienced people (like me) stop after 3 generations and start over with a fresh known sample.
I had planned on starting to save extra growth of yeasts I used in mid 2016. I used a fraction of a large yeast starter to make the wine I really bought the yeast for, and I planned to grow the remaining starter up further, ferment it out and preserve it in separate containers for later use in multiple batches of wine in the future.
Life took over and I forgot about the poor starter bottle. It fermented out in mid 2016 and was left there to rot until February 2018, when I felt sorry for the poor thing. Coinciding with the start of a batch of mango wine, I decided I would try to revive the poor old starter while also making a clean starter for the mango wine. The mango wine is going well (too well, I needed more headroom)..
As of today, 2018-02-02, I have started yeast ranching, starting off with a sample of EC1118 that I opened to make some wine.
Process
I drew lots of information from the good sources on this topic already. Of note is BKYeast's blog which has some interesting information for people at any rung of the microbiology ladder.
My process is fairly simple:
- Prepare starter in the normal way (winemaking books all cover this well)
- Pitch yeast into the starter, stir constantly on a stirplate.
- Feed starter with sugar and water as required to reach desired yeast slurry volume
- Once nearly fermented out, cool the starter in fridge to drop yeast trub out
- Put 3 ml glycerine in vials as cryoprotectant
- Sterilise upright in a rack with lids on (but loose) at 121 °C in a pressure cooker.
- Sterilise work area with isopropyl alcohol
- Prepare bowl of ice water
- Open yeast starter
- Wipe opening of starter bottle with isopropyl alcohol
- Slowly pour off most of the liquid, leaving as little supernatant as possible
- Close starter bottle and swish to mix what little liquid exists, with trub
- Re-open starter bottle and wipe opening with isopropyl alcohol
- For each vial: open the lid, wipe opening with isopropyl alcohol, add 7 ml of yeast slurry, and re-wipe with isopropyl-alcohol before fitting the lid. Place into ice water
- All vials are then frozen at -20 °C inside an ice-jacket container to resist temperature swings that can happen when freezer door left open for prolonged period.
Notes
Stirplate
I use a hotplate/stirplate combination thing to keep cultures moving and exposed to oxygen during growth. This should help more aerobic respiration happen so that I build cell numbers, not ethanol.
Pressure cooker
I use a 7 litre pressure cooker to get my equipment to at least 121 °C (I've measured it closer to 124 °C) in order to sterilise equipment used for handling cultures. It's not virilogical, but we're not dealing with viruses ☺
Generation 1 EC1118
- Parent: Lalvin EC1118 5 g dry sachet
- Parent cost: $2.80
- Inoculations produced: 11
- Cost per inoculation: $0.25
One inoculation was never put into a vial, but instead used fresh.
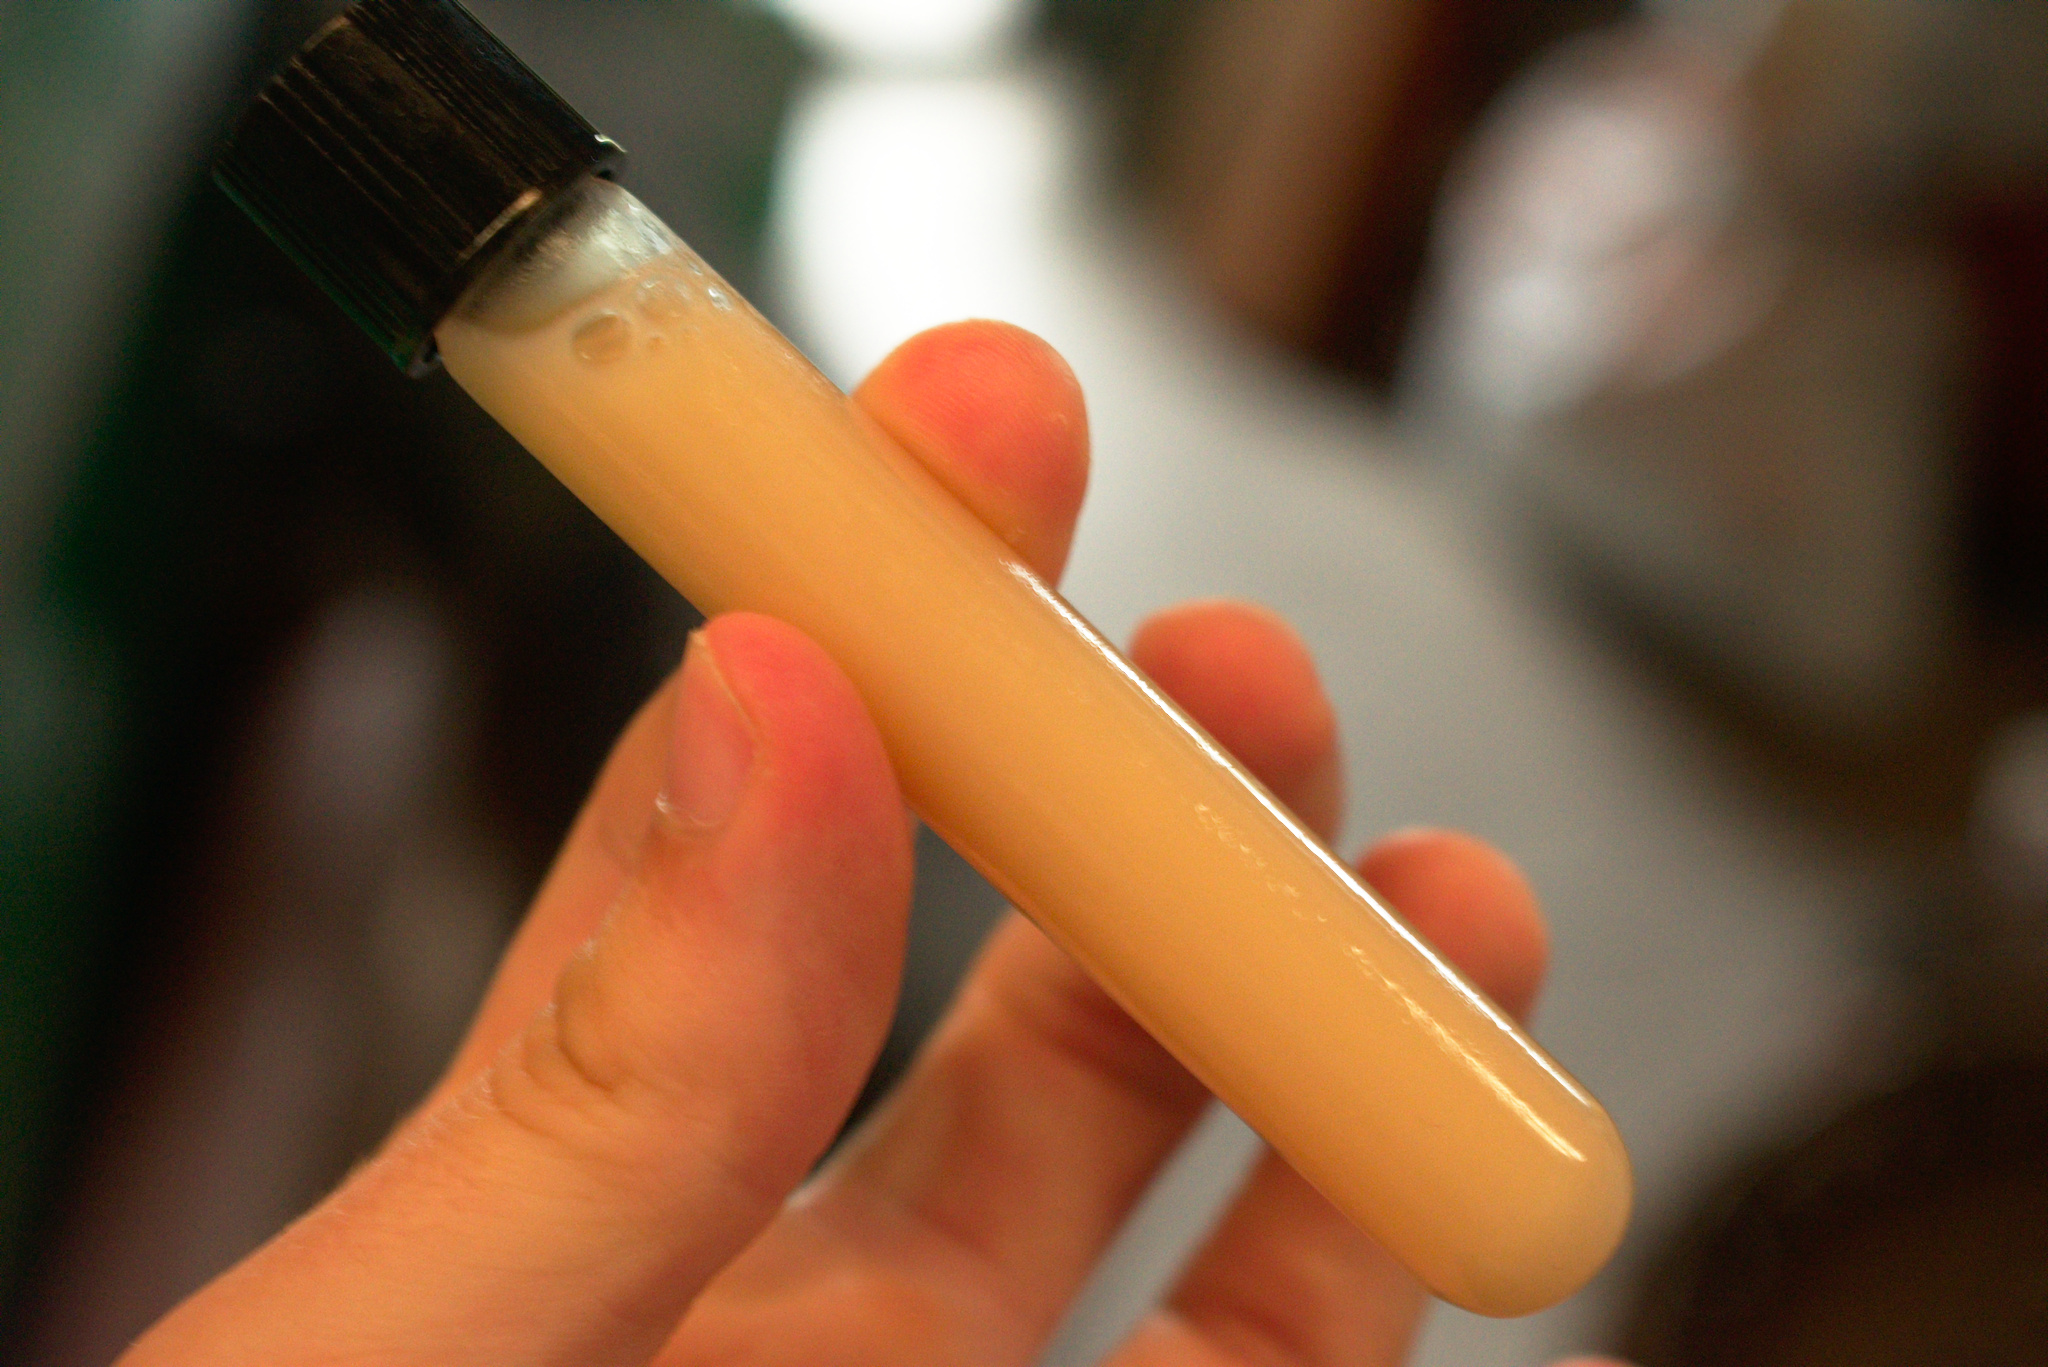
Yeast to fill 10× 10 ml vials of EC1118 was grown in a 1 litre starter bottle. This was fermented until it had a relative density of 1.008. The reason I did this rather than letting it ferment closer to 1.000 was to ensure high cell viability. Fermentation activity had reduced somewhat, and I am unsure of the effect an extra week (time estimated to complete to 1.000) may have had on this.
Generation 2 EC1118
- Parent: Lalvin EC1118 vial
- Parent cost: $0.25
- Inoculations produced: 9
- Cost per inoculation: $0.03
One inoculation was never put into a vial, but instead used fresh.
This batch of vials was taken from a starter made from one of the direct "child" cultures of the sachet above. The starter had fermented out fairly well before storing. Instead of 10 ml of slurry and cryoprotectant combined, I aimed for closer to 3 ml total since I have found 10 to be excessive. In future, I aim to reduce to 500 µl microcentrifuge tubes for cryo.
Generation 1 US-05
- Parent: Safale US-05 11 g dry sachet
- Parent cost: $5.30
- Inoculations produced: TBA
- Cost per inoculation: TBA
This is the yeast purchased recently to ferment an American Wheat. While I am at it I figured I might as well spread the cost of the yeast across multiple batches. It is currently growing and will be used for the beer, and hopefully 9–10 samples set aside for preservtaion.
Improvements
I have identified some problems and pain points with my process for yeast ranching.
Water
I am currently using tap water because of its exceptional quality where I live. Still, there is no guarantee for it to be free of contaminants, and distilled water would clean my process up immensely.
Storage Space
I do not currently have a dedicated freezer in which to place the vials, so room is limited. My ice jacket container is inefficient in its use of volume since it is circular.
Ideally, a small-medium chest freezer with boxy ice jacket containers would be used to give a dedicated space for larger volumes of yeast to be stored, and stored more efficiently.
Preservation Temperature
The vials would be better off in a colder freezer, but I doubt I can find a -80 °C freezer cheap enough.